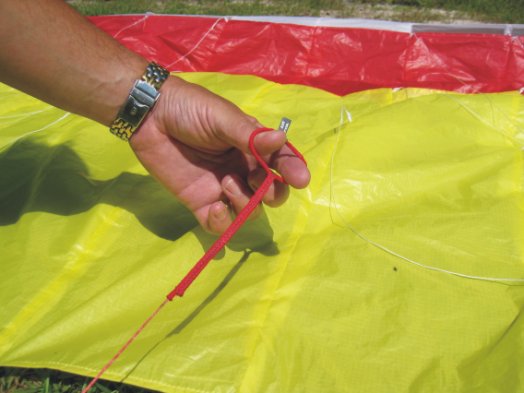
Step One Hold the line in one hand and with the other, insert your thumb and forefinger into the loop to open it.
The larks head knot is used to attach one line to another. It is deceptively simple to make, is strong and yet very easy to un-tie. To form the knot, there needs to be a loop on the end of the line that is being attached, and a stopper knot (usually a figure of eight knot) on the line to which it is being secured. Some manufacturers use simple overhand knots, which weaken a line more than a figure-eight knot, but it is assumed that the material used is strong enough to tolerate the reduction in strength.
In this instance we are attaching a flying line to the toggle of a kite bridle. The exact same method is used to attach the other end to the pigtail on the kite handle. It can be used anywhere where there is a loop on one line and a stopper knot on the other.
If needed, you can form a loop by doubling over a piece of line and tying a figure of eight knot. Flying lines will often come with sewn loops though, as sewing will not weaken a line like a knot can. Sewn loops are cleaner and less bulky too.
The larks head and figure of eight knots are two knots that are essential to the kite flyer.

Step One Hold the line in one hand and with the other, insert your thumb and forefinger into the loop to open it.
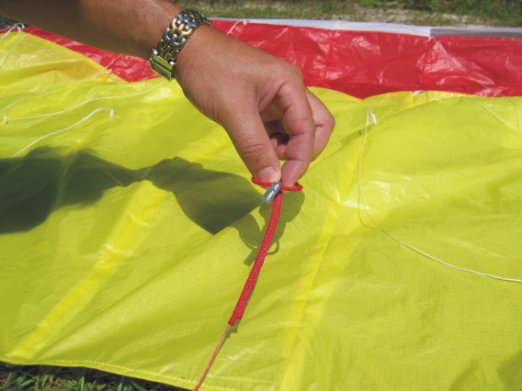
Step Two Flip the loop over, pinch the standing portion of the line with your fingers and pull the line through, forming a loop.
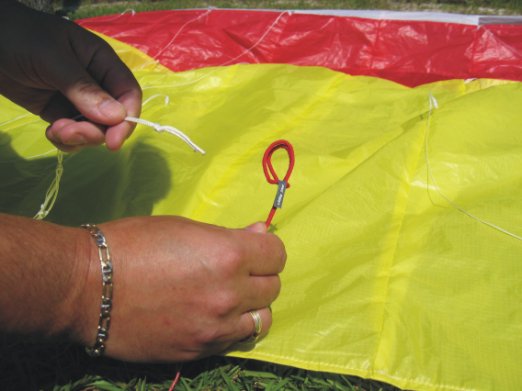
Here is the formed loop ready to recieve the toggle end of the kite bridle.
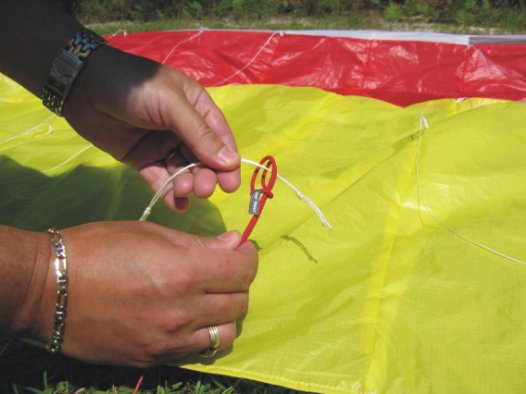
Step Three Insert the toggle through the loop past the stopper knot (often afigure of eight knot) where you want to attach the line. Some toggles, often the brake toggles, will have multiple knots spaced a couple of inches apart. This allows you to adjust brake tension. Make sure that your put both brake lines on the same knot on each side.

Step Four Pull the loop snug around the toggle.
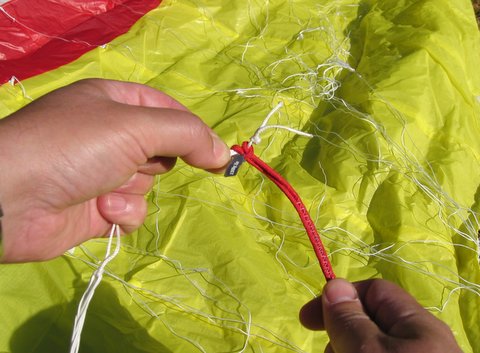
Step Five Then slide it up snug to the stopper knot.
| utah homes |